
What to Do With Old Family Photos Before It’s Too Late
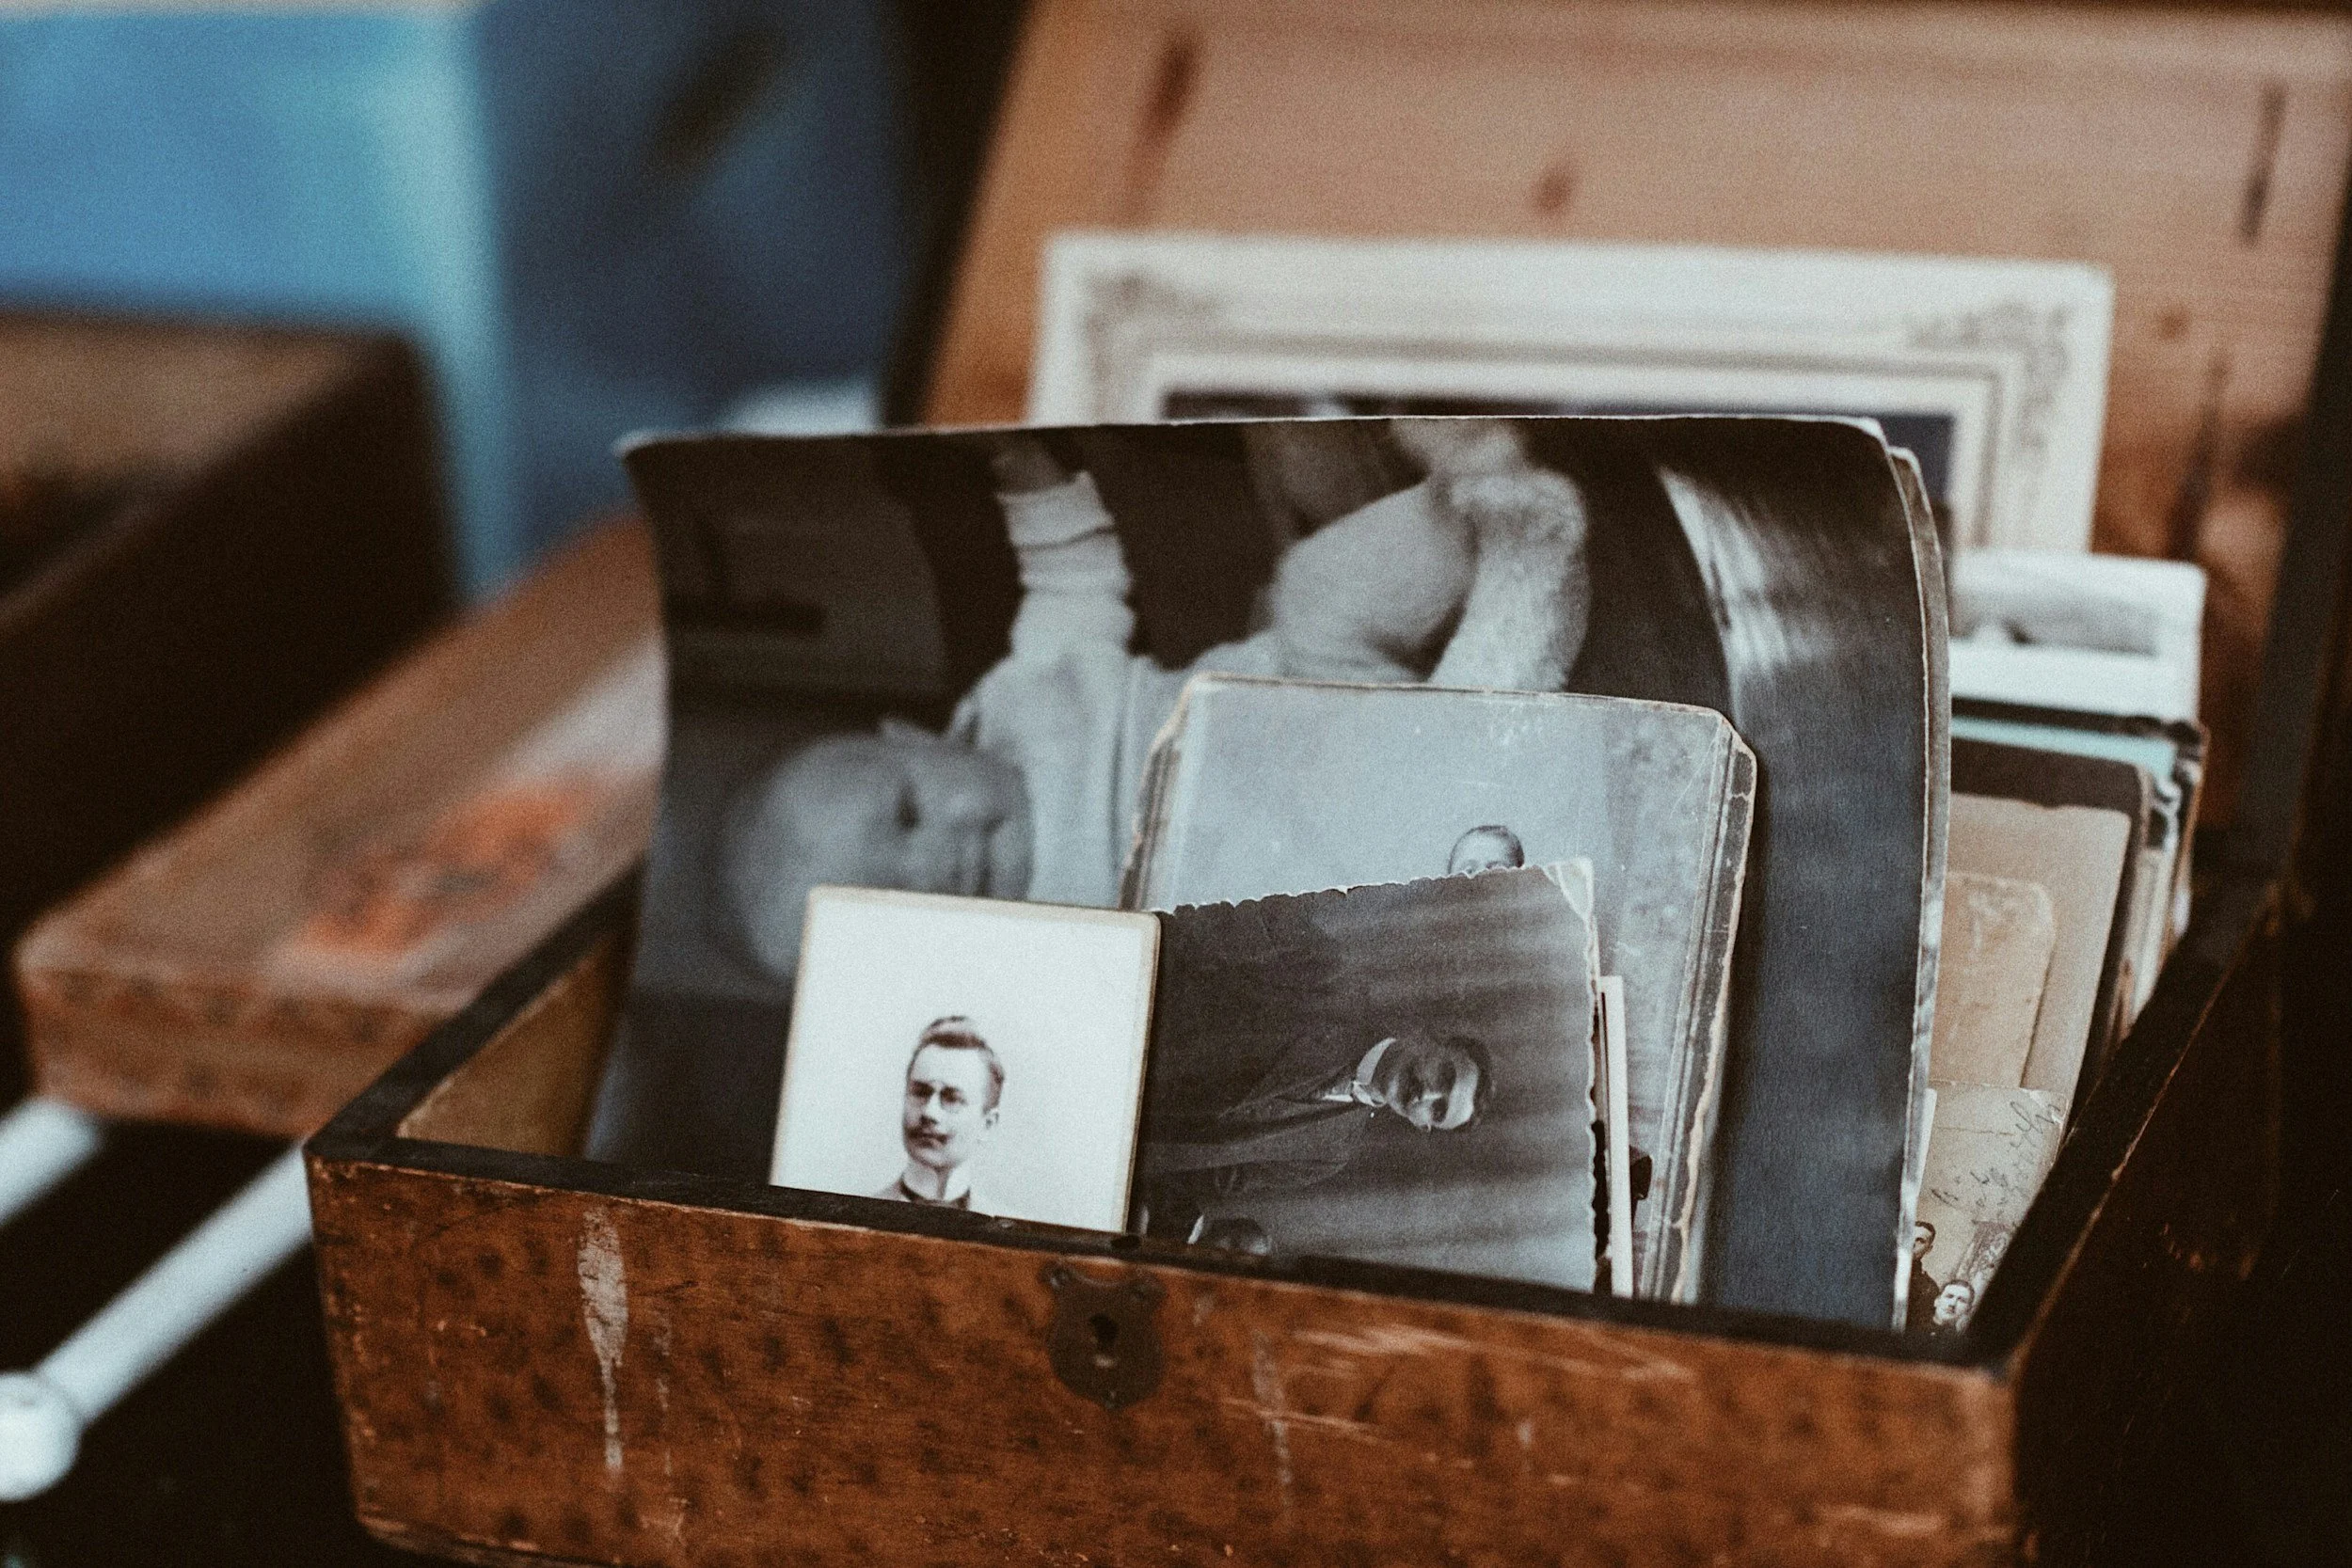
We all have them: dusty boxes, old albums, maybe even envelopes tucked in drawers filled with family photos. Sometimes we glance at them, sometimes we don’t. But the truth is, those photos are windows into your family’s history, moments that capture relationships, milestones, and the little stories that make your family unique.
As a professional life story filmmaker, I know firsthand how important it is to preserve these images and the stories behind them before they are lost forever. When my dad inherited a box of photos, letters, and memorabilia after my grandmother passed away, none of us knew what treasures were inside. As I went through the box in preparation for his life story film, I discovered wedding photos of his parents that we had never seen. Seeing those images for the first time was priceless. It reminded me why preserving photos and their stories while the people who know them are still around is so urgent.
If you’ve been wondering what to do with your old family photos before time slips away, here’s a practical, step-by-step guide that will help you protect your photos and preserve the stories behind them, even if you don’t have fancy tools or a lot of free time.
Why Preserving Photos Matters
Photos Are More Than Paper
Photos capture faces and moments, but they also carry context, emotions, and stories that can’t be recreated. That tiny detail in a background, the smile on a grandparent’s face, or the way a sibling leaned on another in a candid shot. It all tells a story.
Protecting photos ensures that future generations will not only see these images but understand why they mattered. They’ll know who is in the photo, what was happening, and why the moment was important.
Memories Fade, Just Like Photos
Even if a photo survives, the memories and context around it can fade. Names are forgotten. Stories get lost. Without preservation, the image becomes an empty frame. Digitizing and documenting the stories attached to your photos ensures that your family’s history isn’t just remembered, it’s understood.
How to Protect Physical Photos
Old photos are fragile. But you don’t need a degree in archiving to keep them safe. Start with the basics:
1. Store Photos in a Cool, Dry Place
Keep photos away from direct sunlight, heat, and humidity. Basements, attics, and garages can be especially risky. Even a seemingly “safe” closet can have temperature swings that degrade photos over time.
2. Avoid Prolonged Light Exposure
Indoor lighting can also fade photos over the years. If you want to display an image, consider scanning it first and displaying a copy while keeping the original in the dark.
3. Handle Photos With Care
Wash and dry your hands before touching photos. For very fragile items, wear cotton or nitrile gloves. Avoid touching the image surfaces directly as oils from fingers can cause permanent damage.
4. Use Acid-Free Storage
Skip shoeboxes and PVC containers. Instead, use archival-quality sleeves or boxes. Companies like Gaylord Archival and Archival Products offer durable, safe storage supplies that are worth the investment.
Organize Before You Digitize
Before you dive into scanning, take a few minutes to organize your photos:
Sort by family, event, or decade. This makes it easier to enjoy and share the collection later.
Label carefully. Avoid writing directly on photos. Instead, label storage boxes, sleeves, or the back edges lightly with a soft pencil.
For digital files, use descriptive filenames. Something simple like 1987_GrandmaRose_Kitchen.jpg tells much more than IMG_4029.jpg. Future generations won’t know what you know unless you tell them.
Digitizing Photos
Digitization protects against loss from fire, water, or simply time itself.
Scan at high resolution (at least 300 dpi, ideally 600 dpi).
Save in high-quality formats like TIFF or JPEG.
Back up multiple times: two external drives plus a cloud service like Google Photos, Dropbox, or Forever.com.
If scanning every photo feels overwhelming, start with the ones that matter most. For example, in my dad’s life story film, we focused first on the photos from the box he inherited. It was in that box that we discovered wedding photos of his parents, a moment that none of us had ever seen before. Even if you only preserve a few key images at first, it’s better than letting them sit forgotten.
Capture the Stories Behind the Photos
Photos without stories lose context. This is where your family’s memories really come alive.
Ask relatives to talk about photos while you record them on your phone. Even 1–2 minutes per image adds priceless context.
Use simple prompts:
Who is in the photo?
What was happening?
When and where was it taken?
What were you feeling?
Why was this moment important?
Take notes while they talk. These notes often spark additional stories and connections.
Recording multiple family members’ perspectives can be illuminating, too. Different people remember different details, and together they paint a richer picture of your family history.
Link Photos and Stories Digitally
Once your photos are digitized and stories captured:
Pair images with video clips, audio recordings, and notes.
Use accessible tools: Google Photos, Apple Photos, shared folders, or FamilySearch Memories.
Don’t worry about perfection. Simple, consistent, and accessible beats fancy and complicated.
Start Small and Keep It Simple
You don’t need to preserve every photo at once. Even doing one or two of these steps today can make a meaningful difference.
Prioritize photos that matter most or that are fragile.
Capture the stories for a few key images to start.
Build your archive over time.
Remember, preservation is a marathon, not a sprint.
A Final Thought
Protecting old family photos is just the first step. Preserving the memories and stories behind them is what truly keeps your family history alive.
When I went through that old box of photos, letters, and memorabilia, I realized that it’s not the paper that matters. It’s the stories, the faces, and the moments frozen in time. Those wedding photos of my grandparents were a discovery of our family’s legacy.
Start small. Keep it simple. And remember: the best time to preserve your family’s memories is while the people who know them can still tell them.
Optional “Start Here” Checklist
Gather any loose photos or memorabilia.
Sort them by family, event, or decade.
Choose 5–10 of the most meaningful photos to digitize first.
Record short stories about these images with your parents or relatives.
Store originals safely in a cool, dry, dark place.
Back up digital files on at least two drives and a cloud service.
Even completing just one task on this checklist can make a huge difference in preserving your family history.